Install Apache
Ok, this is where the serious stuff begins; the first thing we have to install is Apache, because without the server nothing else will work. Well that is a bit of an exaggeration, but without the server you will not be able to use MySQL and PHP together to develop web pages.
So, let’s install Apache; open up the folder, or navigate to where you saved the installer and double click on it, which should bring up a screen similar to this.
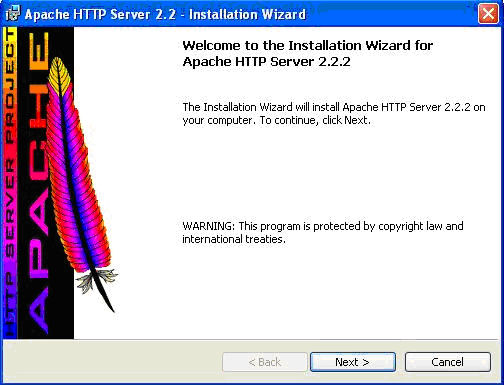
Click Next >
This screen basically tells you that you are about to install Apache. Clicking Next > brings up the following screen.
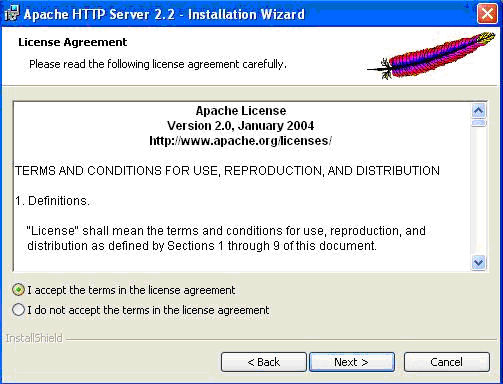
Select “I accept the terms in the license agreement” then
Click Next >
The “Next >” button is only available when you accept the terms, so you have to accept them to be able to install the application. You can read them if you really want to, but it is all pretty boring stuff; 99% of people don’t bother.
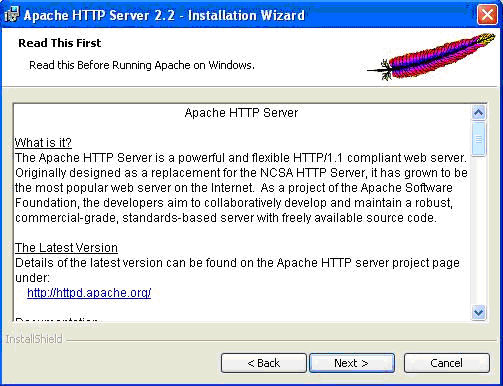
Click Next >
This screen provides some basic and useful information about the application and where we can locate updates etc., again you don’t need to read this unless you really want to.
The next screen is where we have to begin having a little input into the whole process:-
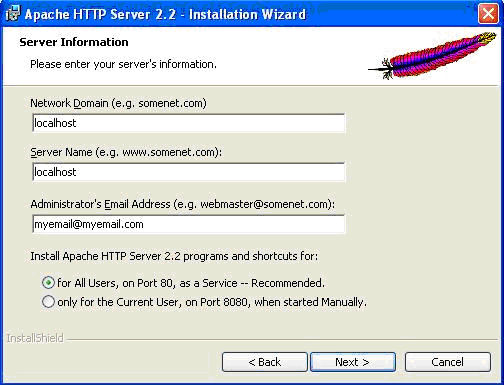
Here we provide the server information, the basic configurations for the server which takes moments. The settings for this screen are as follows, the bold words being what you need to enter:-
Network Domain (e.g. somenet.com): localhost
Server Name (e.g. www.somenet.com): localhost
Administrator’s Email Address: Your email hereThis is only really necessary if you intend to use the server for email purposes and can easily be left at the default setting
Next select “Run as a service for all users – Recommended”. This will start Apache automatically each time you boot up your computer, and is the best solution for users that want something quick, simple and with the minimum maintenance needed.
Click Next >
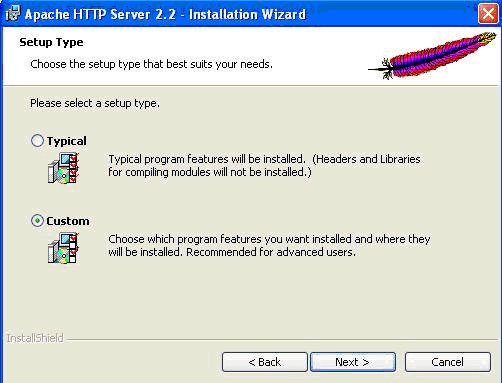
From here we are going to begin to make changes to the installation process by changing the default location to which Apache installs. We are doing this because we want to organize all of our server applications in a single folder for ease of use.
Select Customthen
Click Next >
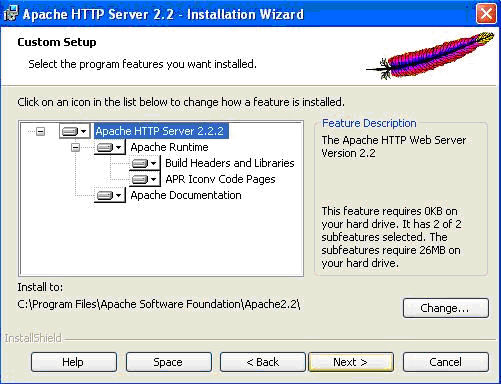
Click the “Change…” button located in the bottom right
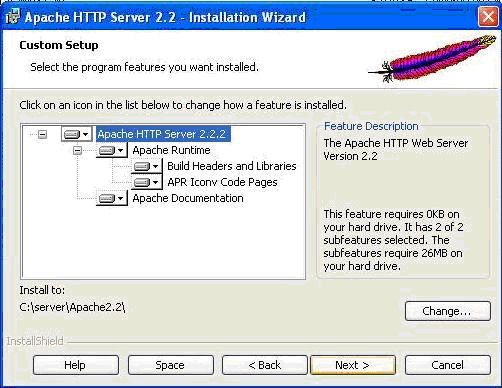
This is where we decide to change the default installation location from C:\Program Files\Apache Software Foundation\Apache 2.2\ to the location that we previously decided, which in this case is C:\server\Apache2.2\
Clicking change will bring up the following screen where this change is actually made:-
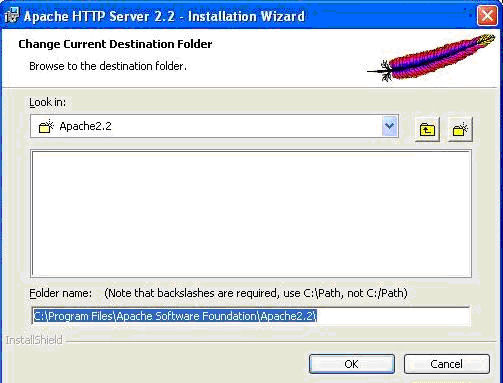
Here, if you are confident enough (I never am), you can type the location directly into the box provided; personally I prefer to navigate to the folder into which I want to install the application using the drop down menu “Look in:” it is much easier and you don’t have to remember the back slashes as it puts them in automatically.
Note: If you do type in the path yourself remember to use the back slash “ \ ” and not the forward slash “ / “, and always remember that the path ends with a back slash, i.e. C:\folder1\folder2\
Click Ok
This will bring us back to the previous screen which should now reflect the changes that we have just made for the installation location.
Click Next >
That is the hard work of installation done it is all down hill from here on in.
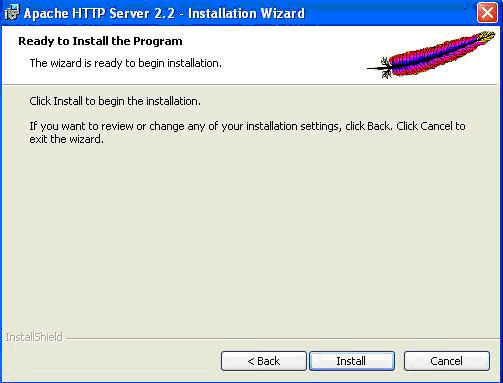
You are now ready, having (I hope) carefully made the necessary changes, to install Apache.
Click Install
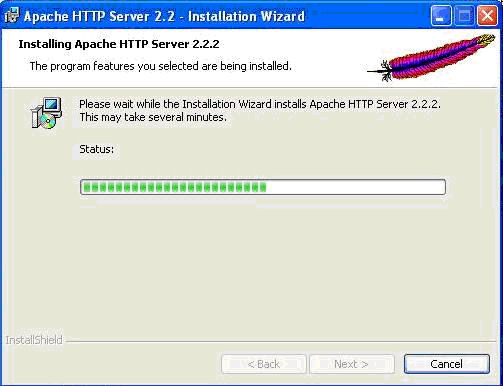
Now we just wait a bit while the installer does its business, go and make a cup of coffee, or kick the cat (only joking), or whatever your preference might be whilst waiting.
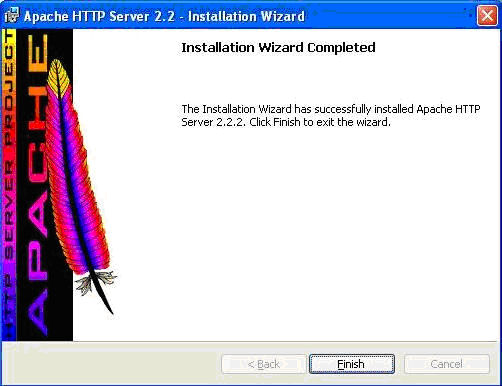
Once the installer has done its work you will get a window similar to this.
Simply click Finish
Now we need to check if Apache is installed and running correctly; fire up your favourite browser (as you will see mine is Firefox, which is by far the best browser) and type http://localhost/ in as the URL and hit enter. You should see something like the following:-
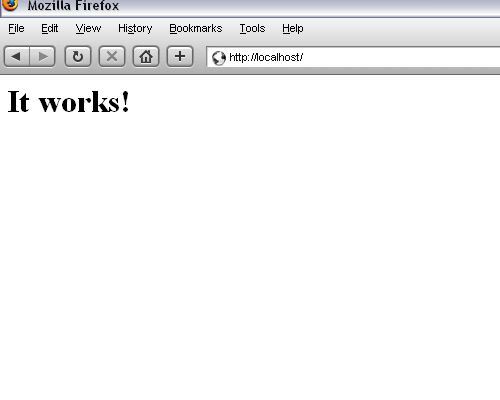
If you see this, then everything worked and Apache is installed and working properly.
When we started we setup Apache to run as a service to make life run more smoothly. However there will be times when you will need to stop and restart the server manually; for example, when we changes to Apache’s configuration file (httpd.conf) the restart is needed for any changes we make to take effect. This file contains all of the configuration settings needed for the server operate effectively.
Any web pages we create will be saved to the web root (sometimes document root) directory (in this case “C:\server\Apache2.2\htdocs\”), this is where the browser will look for anything with a “localhost” url i.e. http://localhost/info.php. The location of “localhost” can be changed by making the relevant changes to the httpd.conf file.
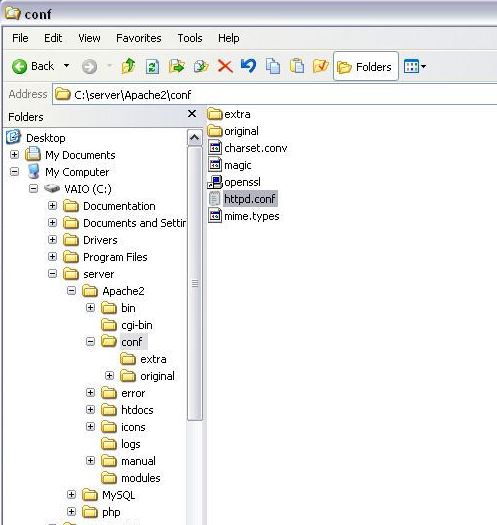
To change the document root location navigate to the httpd.conf file as shown above, double click and it will open in Notepad, then find these lines:
#and change the line <Directory "C:/server/Apache2.2/htdocs"> to read whatever you want it to be; for example <Directory "C:/server/Apache2.2/mynewwebrootfolder">. Personally I see no reason to change this default setting at all unless you need to for a specific purpose.
# This should be changed to whatever you set DocumentRoot to.
#
<Directory "C:/server/Apache2.2/htdocs">
All browsers when give a web address like http://localhost/ will search for a file named index.html, that is unless the web address is pointed to a specific file like http://localhost/info.php when it will look specifically for the file info.php
If you want to use a file other than index.html as your default file when a directory is requested, find these lines and change “DirectoryIndex” or add to it the file you want the browser to find:
# DirectoryIndex: sets the file that Apache will serve if a directoryIf we change the above into:
# is requested.
#
<IfModule dir_module>
DirectoryIndex index.html
</IfModule>
# DirectoryIndex: sets the file that Apache will serve if a directory
# is requested.
#
<IfModule dir_module>
DirectoryIndex index.htm index.html
</IfModule>Remember if you make any changes to the httpd.conf file Apache has to be restarted before any of the changes will take effect.
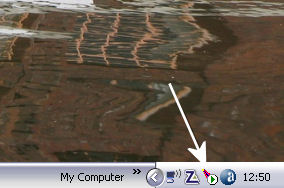
Restarting Apache is quite simple, there is a little feather icon (indicated by the arrow in the picture above) in the system tray down in the right hand corner near the clock, double click it to bring up the Apache Service Monitor:-
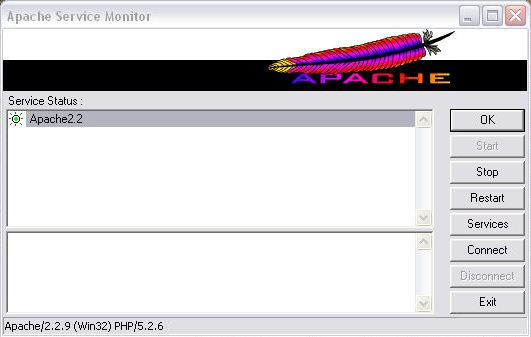
Now there are two options available, you can either click on “Stop” at which point “Start” will appear and you click on that; or there is the easier option of simply clicking “Restart” which will simply stop Apache and immediately start it again.
One down Three to go!
Previous < Introduction - Next > Install MySQL

