

Install MySQL
So, we have installed Apache, now it is the turn of MySQL. Find and open the MySQL .zip file that you downloaded and extract the setup.exe file it contains, I suggest to the desktop where it is more easily available. Next double click on the setup.exe file to begin the process, the first screen will look something like this depending on the version you have downloaded.
Click Next>Just as with Apache we are going to install MySQL in a location other than the default, and this next screen gives us the opportunity to customise our installation.
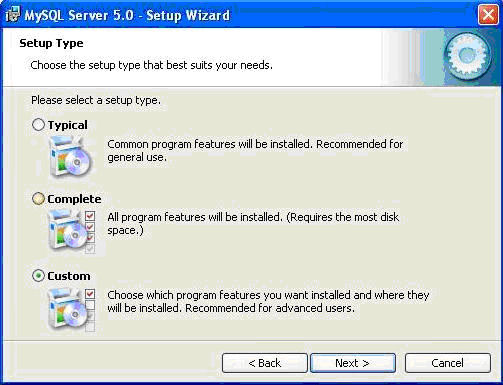
As we want to customise the installation, on this screen we select the Custom radio button.
Then
Click Next>

The resulting screen is very similar to the one we got with Apache to change the installation location. Once again we are deciding to install the application to a location other than the default location, so we
Click Changebringing up the following screen.
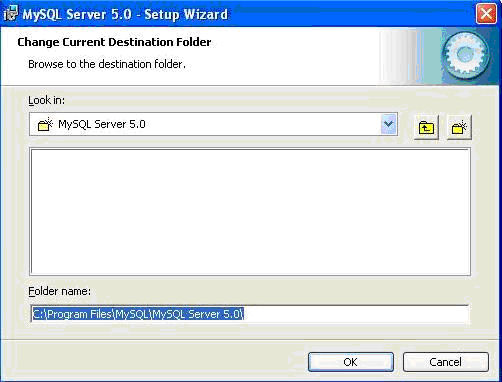
The default location in the box below Folder name: will be C:\Program Files\MySQL\ MySQL Server 5.0\, and we want to change this to C:\server\mysql in keeping with our ethos of keeping all of the applications in one place. As before, you can either type the path C:\server\mysql directly into the Folder name: box (ensuring that it is correct with no typos), or navigate to the correct folder from the drop down menu box below Look in:
Then
Click Ok.
Which has the net result of returning us to the previous screen, which should now have the new installation location showing instead of the default location below Install to:.
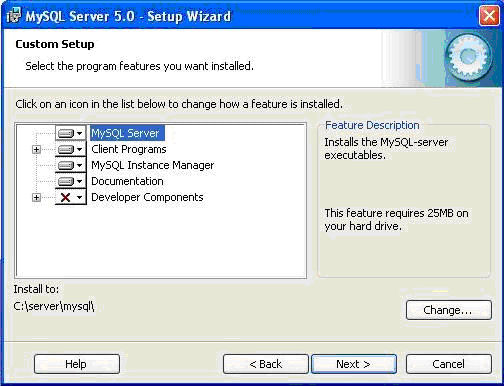
Just make a final check that the location below Install to: reads C:\server\mysql (or whatever you have chosen).
Click Next>:
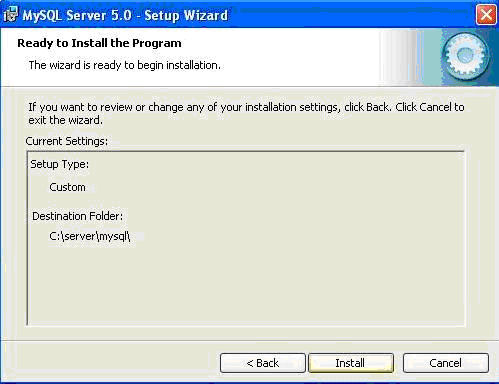
This screen gives us a final opportunity to ensure that we have got everything as we want it, if not click <Back and rectify any errors; although I am quite sure this won't be necessary.
Click Install
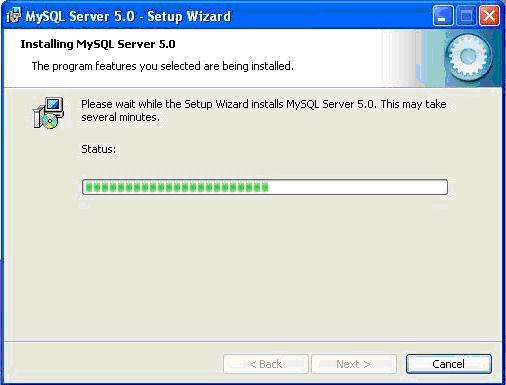
Again we have to wait a bit while the installer does its business, go and have a beer, or beat the kids (only joking), or whatever your preference might be whilst waiting. Eventually you will get the following screen:-
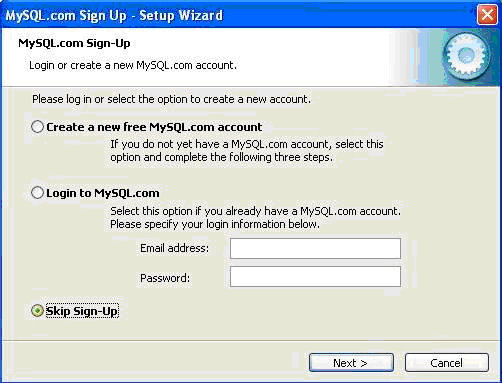
Unless you are actually desperate to Create a new free MySQL.com account, I was not, select the Skip Sign-up radio button.
Click Next >

Depending on the version being installed you may get a couple of other screens before this one, they are of little consequence and Next. Can be clicked until you come to this screen, which is the start of the configuration process.
Click Finish
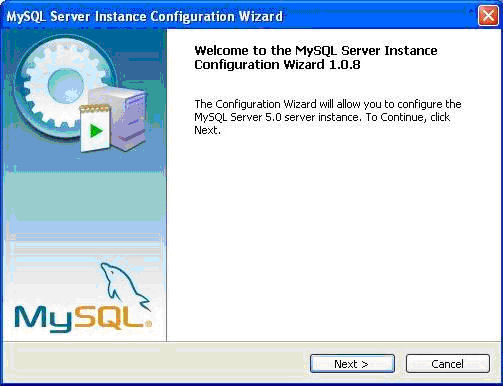
Click Next >
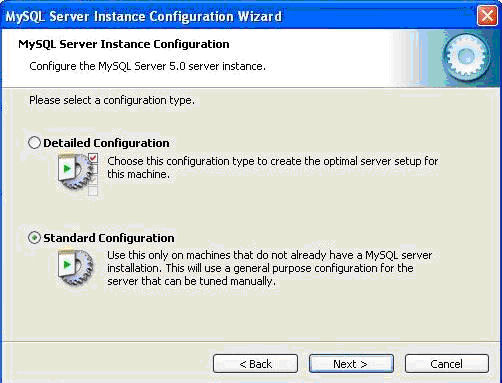
As this is a new installation we want the Standard Configuration so select that radio button. The Detailed Configuration is for those upgrading their MySQL which I will not be covering here.
Click Next >
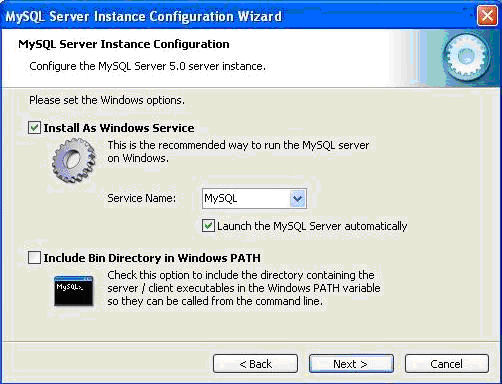
Now we begin the basic configuration of MySQL, there are only two things we need to ensure here, and they are that both the Install As Windows Service and the Launch the MySQL Server automatically boxes are both checked. The second one is to ensure that the MySQL server is stared when the computer is booted, or if, for any reason, the server is shut down.
Click Next >
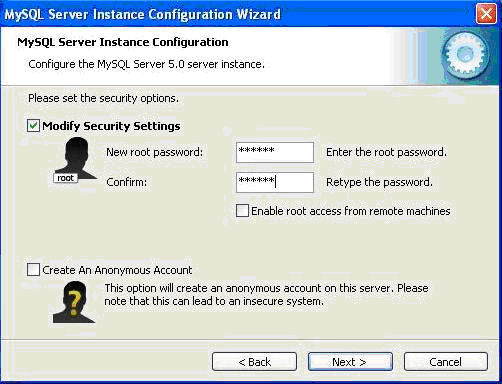
Two things to attend to here, check the Modify Security Settings box if it not already checked, then choose and enter your password for the root access. You will see an Enable root access from remote machines check box, the only circumstances in which you would need to check this box would be if you actually need this facility. It is highly unlikely that it would be needed for learning\development purposes unless this was actually being done remotely with MySQL etc. on a host machine, and as we are installing on our own computer it is not really needed.
Click Next >
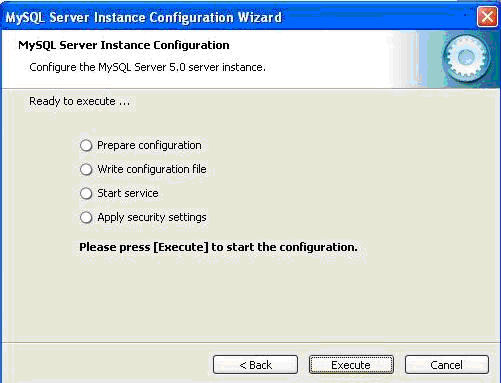
This screen is simply to implement the configuration settings that we have just entered, letting us know exactly what is happening.
Click ExecuteApparently there could be some problems at this stage, although, having installed MySQL several times, I have never encountered any myself, that is other than telling Windows Firewall to unblock the application. But then, who would be using Windows Firewall when there are far better products out there, and for free; products like Zone Alarm which I find excellent. Solutions to any problems can either be found in the online documentation for MySQL, or through one of the many forums out there, I find PHP Freaks an excellent source.

If everything has happened as I would expect it to you will be looking at the above screen telling you what has been done, and that the configuration process was successful.
Click Finish
Now we need to know that MySQL is working properly and to do that we open up the Command Line Client for MySQL.
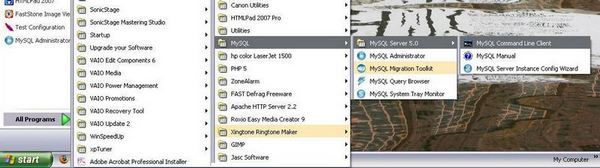
As can be seen above the sequence for this is Start > All Programs > MySQL > MySQL Server 5.0 > MySQL Command Line Client.
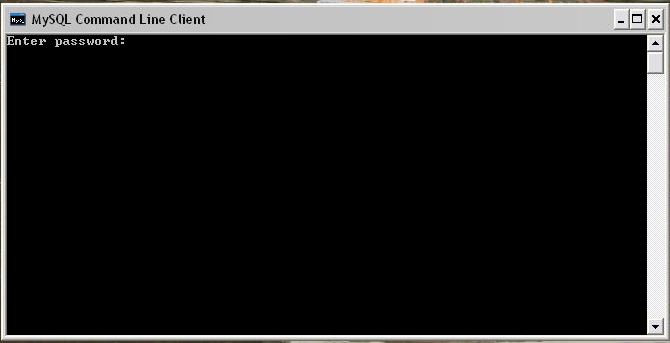
The above screen should appear, just type your chosen password for root access and hit Enter. If all is well you should get a screen similar to the following one:-
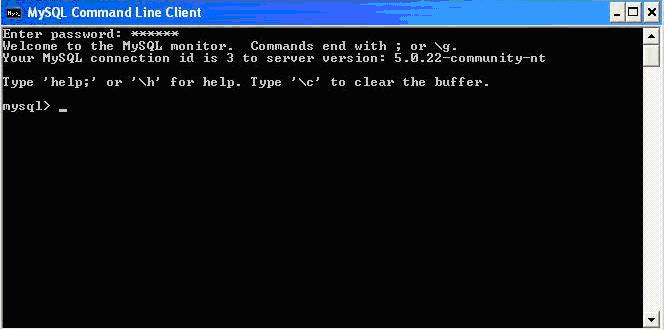
If you are seeing this screen then all is working properly, if not you have done something wrong, although if this were the case I would have expected you not to be here anyway.
MySQL is now installed and working correctly type quit or exit at the prompt and hit Enter to close the Command Line Client.
Previous < Install Apache - Next > Install MySQL Tools